Every scientific investigation starts with a question about the natural world. Scientists observe something they're curious about and turn that curiosity into a clear, testable question. The question can't be something with a simple yes or no answer — it needs to point toward an experiment.
Good science questions come from everyday observations: Why do some things melt faster than others? Why does a car go faster on a flat road than on a hill? If you've ever wondered why something works the way it does, you're already thinking like a scientist.
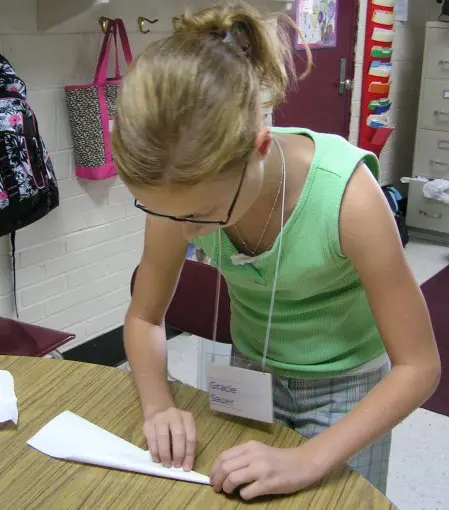
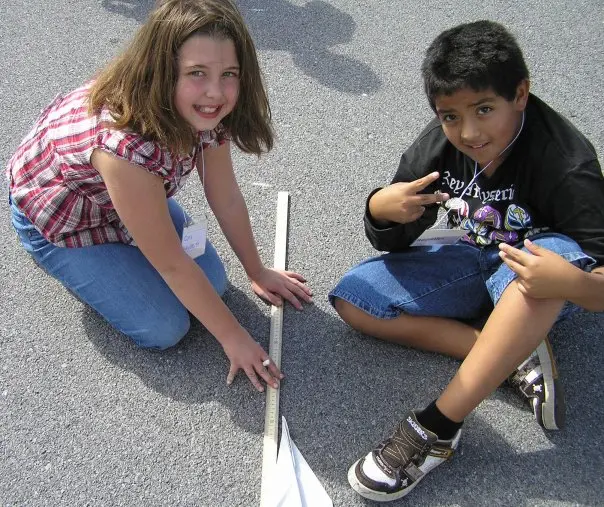
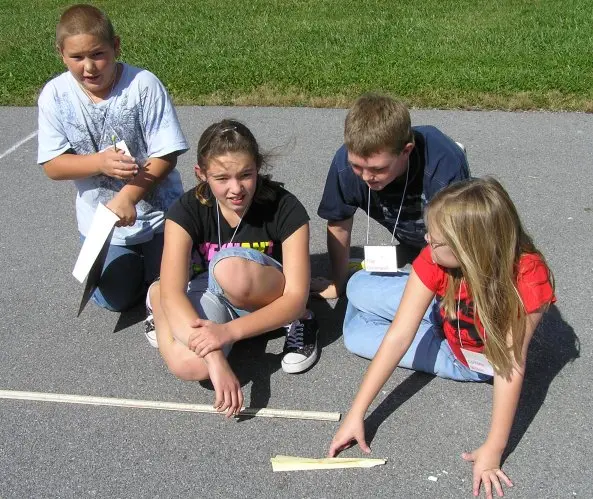
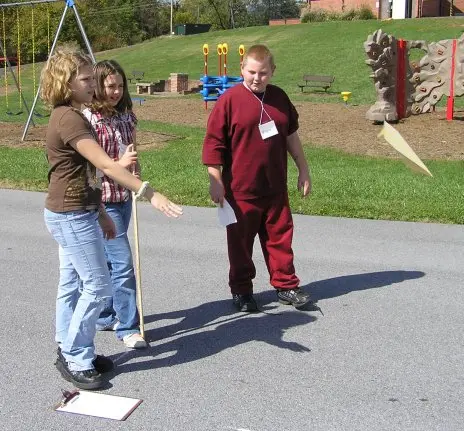
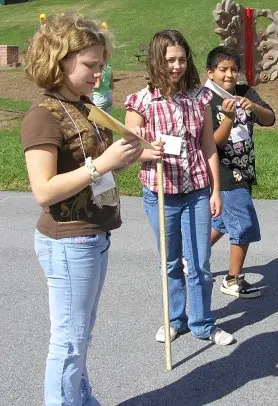
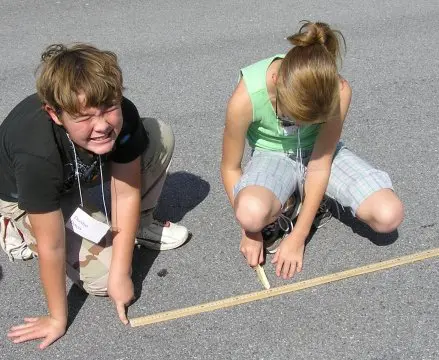
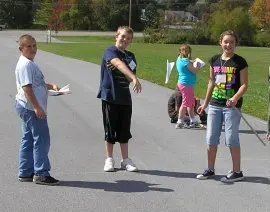
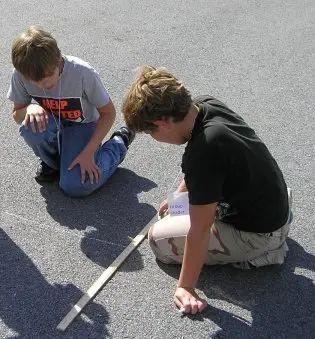
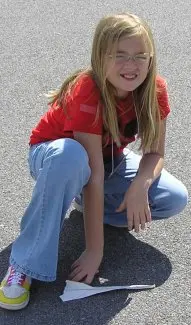
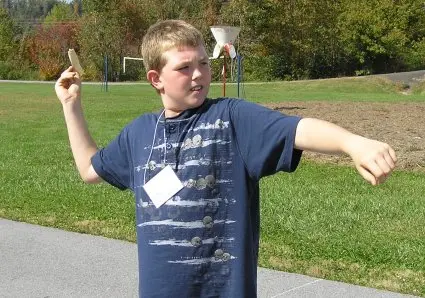
Paper Airplane Example
Question: Will the material an airplane is made of affect the distance the airplane travels?
Notice the tense of the verb — the question is written before the experiment happens, so we use future tense.