Seminole Patchwork Designer
Seminole and Miccosukee women in Florida are famous for patchwork, bright bands of tiny cloth pieces sewn into geometric designs. In the Mikasuki language, patchwork is called taweekaache, which means “design.”
Patchwork became possible after hand-cranked sewing machines arrived in the late 1800s, and it appears in photographs from around the time of World War I. Seamstresses sew long strips of cloth together, cut them into pieces, then turn, shift, and sew the pieces back together into a band. The bands are stitched onto skirts, capes, and big shirts. Some designs have names, such as Rain, Lightning, Mountains, Arrowheads, and Diamond Back.
Design Your Own Patchwork
Follow the three steps. Your band changes as you choose.
Sew strips together
Pick a color for each strip.
Cut into pieces
Choose how wide to cut each piece.
Move the pieces
Choose how to arrange the pieces.
Your Patchwork Band
Your Skirt (0 of 4 bands)
The Math in Patchwork
Seminole patchwork is built with transformations, moves that change a shape’s position without changing its size.
- Reflection flips a piece over, like a mirror image.
- Translation slides a piece without turning it.
- Rotation turns a piece around a point.
Think About It
- Make a band with “Flip every other piece.” Which pieces are reflections of each other?
- Make a band with “Shift each piece up.” What shape do the colors make across the band?
- Look at a band you made. Find the smallest part that repeats. How many times does it repeat?
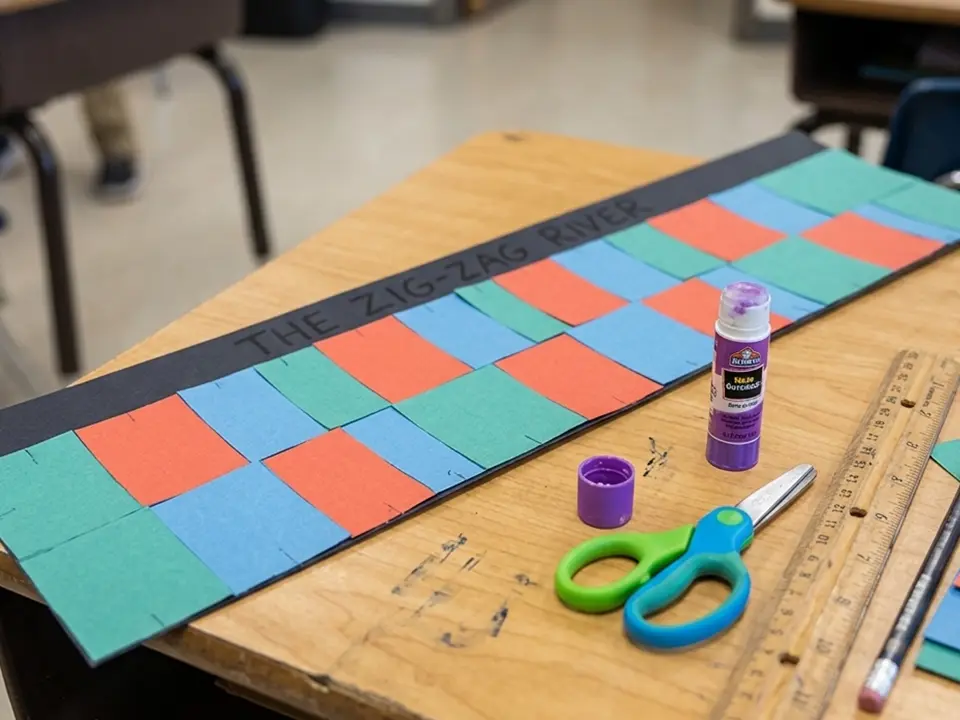
Make Paper Patchwork
Materials
- construction paper strips in three colors, about 1 inch wide and 12 inches long
- glue stick, scissors, ruler, and pencil
- a long strip of black or white paper for the background
Directions
- Glue three strips side by side, edges touching, to make one wide “strip set.”
- Turn it over and draw lines every inch. Cut along the lines to make pieces.
- Arrange the pieces on the background strip: flip every other piece, or slide each one up a little.
- Glue the pieces down, trim the top and bottom edges straight, and name your design.